A focused Kubernetes cost optimization programme, one that prioritises workload rightsizing, autoscaling, bin-packing, spot capacity and commitments, can recover a significant portion of cluster compute spend without touching reliability. The order matters more than the tactics themselves: rightsize first, automate scaling second, layer discounts last.
The top levers in the sequence we’d run them:
- Workload rightsizing — fix requests and limits before anything else
- Autoscaling and node management — HPA, VPA, Cluster Autoscaler, Karpenter
- Spot capacity plus commitments — Savings Plans, reserved instances, preemptible VMs
- Bin-packing and governance — node consolidation, quotas, ongoing cost allocation
Pro Tip: Watch CPU request utilisation and node bin-packing ratio as your two headline metrics. If both improve while P99 latency stays flat, you’re cutting cost without cutting corners.
Key Takeaways
Kubernetes cost optimization works best as a sequence: rightsize workloads first, automate scaling second, then layer spot capacity and commitments on a baseline that’s already correctly sized.
| Point | Details |
|---|---|
| Rightsize before committing | Set requests near p50 to p70 usage and limits near p99, using VPA in recommendation mode first. |
| Sequence autoscaling by layer | Tune HPA for pods, Cluster Autoscaler or Karpenter for nodes, and review PDBs before scaling down. |
| Mix Spot with commitments carefully | Run around 60 to 70% Spot for stateless and batch workloads, buying Savings Plans only after rightsizing. |
| Track cost visibility continuously | Use Kubecost or cloud-native recommenders to monitor request utilisation, bin-packing and Spot percentage weekly. |
| Escalate when scale outgrows manual review | Cost Beacon’s pay-on-savings audit suits teams past five clusters or several hundred workloads. |
Table of Contents
- Kubernetes cost optimization: a 30/60/90 day rollout plan
- How do you rightsize pods and workloads correctly?
- How do HPA, VPA and Cluster Autoscaler work together?
- When should you use spot instances and savings plans?
- How do you improve bin-packing and node sizing?
- Where does storage and network spend go unnoticed?
- Which tools give you real cost visibility?
- What does a Kubernetes cost audit actually look like?
- What mistakes undo Kubernetes cost savings?
- What’s the real trade-off in Kubernetes cost optimisation?
- How Cost Beacon runs a risk-free Kubernetes cost audit
- Sources
Kubernetes cost optimization: a 30/60/90 day rollout plan
Platform teams don’t need a strategy deck. They need a sequence.
Days 1 to 30 (measure): Install a cost visibility tool, tag every namespace to an owner, and pull 14 to 30 days of CPU/memory usage per workload.
Days 31 to 60 (quick wins): Rightsize the top 20 highest-spend workloads using p95 usage data. Enable HPA on stateless services.
Days 61 to 90 (structural change): Roll out Karpenter or node auto-provisioning, shift eligible batch and stateless workloads to Spot, and buy your first tranche of committed capacity based on the new, rightsized baseline.
- Platform lead owns tooling and dashboards
- Service owners own rightsizing their own workloads
- SRE/platform owns autoscaler tuning and PodDisruptionBudgets
- Finance/platform jointly own commitment purchasing
Most teams see initial noticeable savings within a couple of months; the rest arrives once commitments and node strategy mature.
How do you rightsize pods and workloads correctly?
Rightsizing starts with data, not guesswork. Pull CPU and memory usage at p50, p95 and p99 over 7 days for volatile workloads and 30 days for anything with weekly or monthly cycles, so you catch batch jobs and traffic spikes that a shorter window misses.

Set requests near the p50 to p70 usage mark, so the scheduler packs nodes efficiently without starving pods under normal load. Set limits closer to p99, giving headroom for spikes while capping worst-case node pressure. Stateless web services can run tighter than stateful databases, which need more buffer because a memory limit breach means an OOM kill, not a graceful degrade. Batch jobs tolerate CPU throttling well, so keep CPU limits modest and let memory limits carry the safety margin.
Run the Vertical Pod Autoscaler in recommendation mode for two to three weeks before applying anything automatically. Watch error rates, P99 latency and restart counts for 48 hours after each change, and roll changes out namespace by namespace, never cluster-wide in one pass.
- Never set memory requests equal to limits on bursty workloads. It removes the scheduler’s flexibility and invites OOM kills.
- Don’t rightsize from a single day’s data. A quiet Tuesday will lie to you about Friday’s peak.
Pro Tip: If a workload’s p50 and p99 are wildly far apart, that’s a signal to add HPA rather than widen the limit. A big spread means variable load, not a wrong request.
How do HPA, VPA and Cluster Autoscaler work together?
Three autoscalers, three separate jobs. The Horizontal Pod Autoscaler adds and removes pod replicas based on CPU, memory or custom metrics, and it’s your primary lever for handling variable traffic without paying for peak capacity around the clock. The Vertical Pod Autoscaler adjusts a pod’s requests and limits over time, useful for workloads with a single replica or steadily drifting resource needs. The Cluster Autoscaler (or Karpenter/EKS Auto Mode on AWS) adds and removes nodes to match what the pod schedulers actually need.
The money is made or lost at the node layer. GKE’s best-practice guidance points out that autoscaling only saves money if capacity actually shuts down when demand falls, which means scale-down delay settings and PodDisruptionBudgets deserve as much attention as scale-up thresholds.
Checklist for tuning:
- Set HPA target utilisation around 60 to 70%, not 90%, to leave room for scale-up latency
- Set Cluster Autoscaler
scale-down-unneeded-timeto 5 to 10 minutes for bursty workloads - Review every PDB for
minAvailablesettings stricter than the workload actually needs - On Karpenter, tune
consolidationPolicy: WhenEmptyOrUnderutilizedrather than the more conservative default
Karpenter and EKS Auto Mode consolidate compute continuously, but annotations like
karpenter.sh/do-not-disruptand overly strict PodDisruptionBudgets routinely block consolidation, according to AWS’s own EKS Auto Mode documentation. Audit these before assuming the autoscaler is underperforming.
When should you use spot instances and savings plans?
Spot instances (AWS) and preemptible VMs (GCP) cut compute prices by a wide margin, but they come with a two-minute interruption notice. That makes them an easy yes for stateless web tiers, CI runners and batch or ML training jobs that checkpoint regularly. It makes them a hard no for anything holding uncommitted state, primary databases, and workloads without a graceful shutdown handler.

A workable capacity mix for most production clusters typically includes a substantial portion of Spot instances for stateless and batch workloads with proper interruption handling, an On-demand baseline for stateful or latency-sensitive services, and committed capacity (Savings Plans, reserved instances) covering steady-state needs, purchased after rightsizing.
Azure’s compute savings plan works the same way as AWS Savings Plans and GCP CUDs: you commit to a spend level, not a specific instance, and get a discount in return. That flexibility matters because Kubernetes node shapes change as you rightsize.
For implementation, use taints and tolerations to keep Spot-tolerant workloads separate from on-demand-only pools, cap each Spot node pool’s maximum size, and always configure a fallback on-demand pool for interruption spikes.
Pro Tip: Buy commitments after rightsizing, never before. Committing to capacity based on an oversized baseline locks in the waste you’re trying to remove.
How do you improve bin-packing and node sizing?
Fixing it starts with node pool design: run one general-purpose pool for most workloads, a dedicated pool for large memory-bound services, and a Spot-tolerant pool for batch and stateless work, rather than dozens of narrow pools that fragment capacity.
On AWS, favour compute-optimised C-family instances for CPU-bound services, memory-optimised R-family for caches and in-memory workloads, and general-purpose M-family as the default.
- Use Karpenter consolidation or Cluster Autoscaler’s priority expander to actively repack underused nodes, not just add capacity
- Avoid pinning workloads to specific instance types unless a genuine hardware requirement demands it
- Review node pools quarterly. Fragmentation creeps back as workloads evolve
Pro Tip: A cluster with near-empty large nodes can cost more than fewer well-packed ones. Low average node CPU utilisation is typically a bin-packing problem, not a capacity problem.
Where does storage and network spend go unnoticed?
Compute gets the attention, but storage and egress bleed budgets quietly. Persistent volumes that outlive their pods, load balancers left behind after a service deletion, and snapshot retention policies nobody revisited in a year all add up. Cost Beacon’s audits of AWS environments consistently turn up orphaned volumes and idle load balancers as a recurring, easily fixed cost source.
- Audit for unattached EBS volumes and PVCs with no bound pod monthly
- Set snapshot lifecycle policies with a defined expiry, not indefinite retention
- Apply
ResourceQuotalimits onrequests.storageper namespace - Check cross-availability-zone traffic; colocating chatty services in one zone cuts egress charges meaningfully
Which tools give you real cost visibility?
You can’t optimise what you can’t see per namespace, per team, per workload. Kubecost remains the most widely deployed open-source option for Kubernetes cost allocation, breaking down spend by namespace, label and deployment against actual cloud billing data. On GCP, GKE’s Cost Optimization metrics expose used, requested and allocatable resources directly, while the Recommender API flags idle clusters and overprovisioned workloads automatically.
Track these as your core metrics:
- CPU and memory request utilisation, by namespace
- Node bin-packing ratio (allocated vs allocatable)
- Spot percentage of total compute hours
- Cost per namespace, tracked weekly for showback or chargeback
| Metric | Healthy target | Tool source |
|---|---|---|
| CPU request utilisation | 60 to 70% | Kubecost, cloud recommender |
| Node bin-packing ratio | Above 70% | Cluster Autoscaler/Karpenter metrics |
| Spot % of compute hours | around 60 to 70% | Cloud billing export |
| Cost per namespace | Tracked weekly | Kubecost, GKE usage metering |
Set alert thresholds on each metric so a regression, a workload creeping back up in requested CPU, gets caught before the next invoice.
What does a Kubernetes cost audit actually look like?
A structured audit runs in four phases over two to four weeks: measure (billing export plus usage data), map (owners per namespace and workload), rightsize and automate (quick wins first, autoscaling second), then govern (quotas, alerts, review cadence).
- Week 1: Pull cloud billing data and workload usage metrics; map every namespace to an owner
- Week 2: Identify top 20 overspend workloads and zombie resources (idle PVs, load balancers)
- Weeks 3 to 4: Apply rightsizing, enable autoscaling, and build the prioritisation matrix
Score each finding on savings potential against implementation risk. High savings, low risk items (an oversized memory limit on a stateless service) go first. High savings, high risk items (removing a PDB on a stateful workload) go last, with a canary rollout.
Rightsizing alone typically recovers a significant portion of waste in a matter of weeks; node strategy and commitments add additional savings over subsequent months, based on the pattern Cost Beacon sees across AWS-based engagements.
What mistakes undo Kubernetes cost savings?
Over-aggressive rightsizing is the most common failure mode: shrinking requests too far causes scheduling thrash and OOM kills, which erode the trust needed to keep optimising. Restrictive PodDisruptionBudgets and blanket do-not-disrupt annotations quietly block node consolidation, leaving savings on the table that look implemented but aren’t. Buying commitments before rightsizing locks in an oversized baseline for a year or more.
Before touching production, confirm you have:
- A canary window and rollback plan for every rightsizing change
- SLO checks on P99 latency and error rate, not just cost dashboards
- A PDB review, so scheduling latency doesn’t spike after autoscaler tuning
What’s the real trade-off in Kubernetes cost optimisation?
The honest trade-off isn’t savings versus reliability, it’s savings versus engineering time. Rightsizing and autoscaling tuning are mechanical work that any competent platform team can execute with the guidance above. What breaks down is scale: once you’re running more than five clusters or several hundred workloads, manual audits stop keeping pace with drift, and the savings identified in month one quietly erode by month four.
That’s the threshold where outside expertise pays for itself, not because the tactics change, but because someone needs to run the audit continuously rather than as a one-off project.
How Cost Beacon runs a risk-free Kubernetes cost audit
If your platform team has run the rightsizing and autoscaling work above and savings are still plateauing, that’s usually a sign the remaining waste needs a dedicated audit, not more tuning. Cost Beacon runs a pay-on-savings audit of your AWS, GKE or multi-cloud Kubernetes environment, combining AI-driven analytics with hands-on engineering review to find what dashboards alone tend to miss.
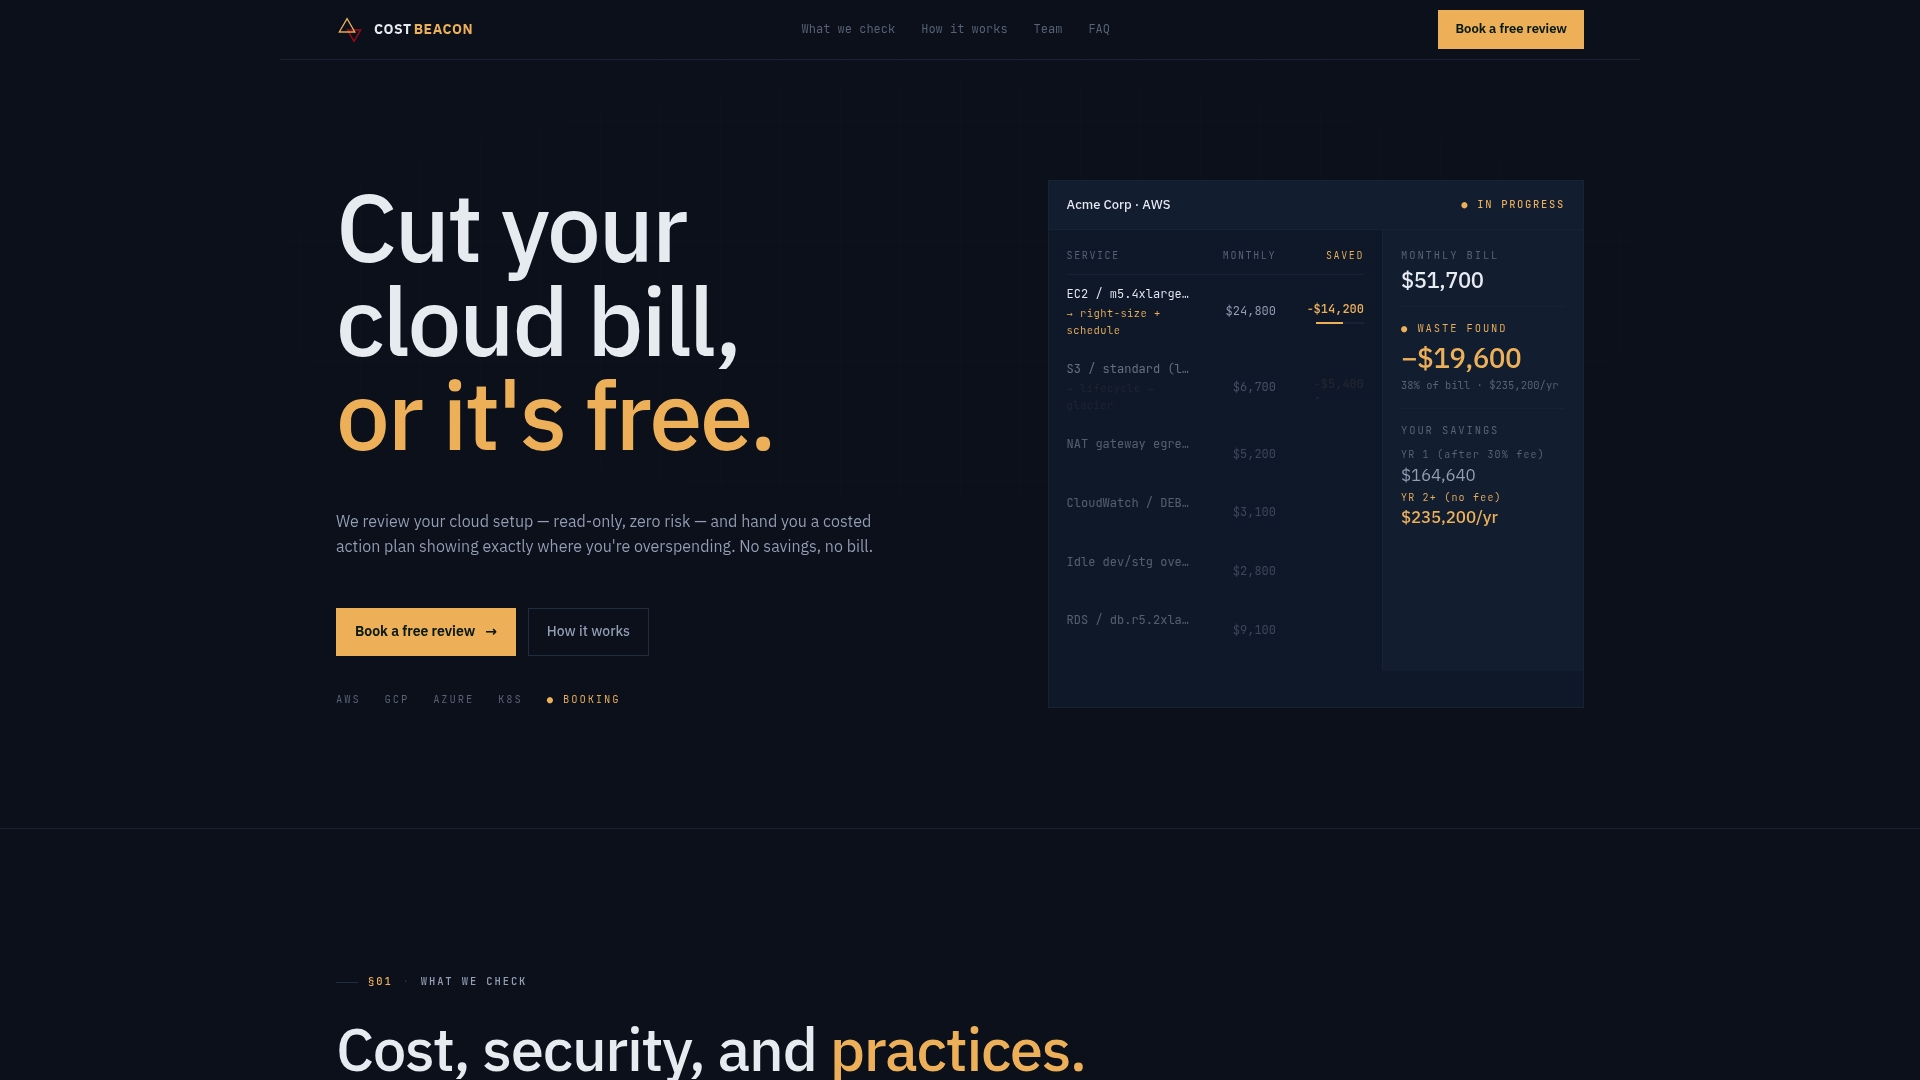
Every engagement delivers a prioritised action plan with expected savings per item, covering compute rightsizing, node strategy, commitments and the storage and network leaks that standard tooling overlooks. Implementation support is optional. You’re never charged unless savings are realised, so there’s no upfront cost and no fee if the audit turns up nothing worth acting on. If your cluster count or workload volume has outgrown manual review, start a Cost Beacon audit and see the prioritised roadmap before committing to anything.
Sources
- Right-size your GKE workloads at scale
- Cost optimization in EKS Auto Mode
- Data-driven Amazon EKS cost optimization: A practical guide to workload analysis
- Azure savings plan for compute
Recommended
Aaditya works on cloud cost and platform engineering at Cost Beacon, mostly on AWS and Kubernetes estates that grew faster than anyone planned for.
 Cost Beacon